The printer will not function normally until any known issues are resolved. This includes empty or missing ink cartridges. To rewrite programs that allow scan functions to continue without the presence of ink may not be cost effective and potentially can create other issues for the printer.
There is good news though. In most cases, if your printer¹ is attached to a computer, you can use the scan facility from the computer to instruct your printer to scan.
Below are general instructions on how to do this. Please note that the specific instructions suitable to your machine may vary depending on your computer, operating system and printer.
From a Mac
- Place document on the flatbed of your printer.
- Go to “System Preferences”
- Select “Printers and Scanners”
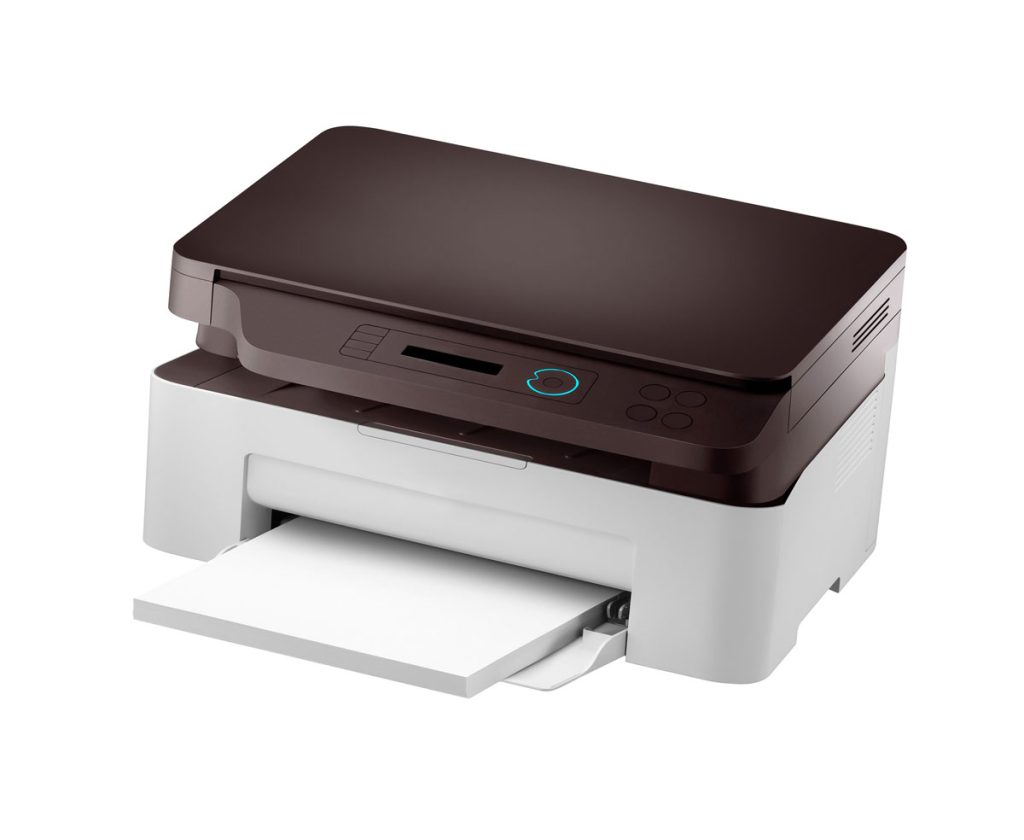
- Select your printer (if there is more than one listed)
- Click :Scan”
- Click “Open Scanner”
- Select either
- Click Scan
If you want to get fancy, some programs will allow you to use the cropping tool to select the exact portion you want scanned before you click “Scan”
Fancy Scanning from a Mac:
Once you have completed step four (4), you can click on “Show Details” and a range of option will appear. Please keep in mind that the available options depends on your Operating System.
You might be able to change:
- Modes: (Transparency Positive/Transparency Negative/etc)
- Kind: Colour/Black & White/Text)
- Resolution: Just keep in mind that printing performance may be affected by ultra high
- Size: can be customized by pixels/centimeters/inches
- Rotation Angle: images can be rotated clockwise by your specified degree
- Image selection: Either choose to separate items or include all items in one image.
- Destination: choose between pre-configured folders, applications or e-mail
- Name: choose a file name for the image
- Format: JPEG, PNG, PDF, etc
- Image Correction: choosing manual can allow you to manipulate brightness, tint, etc
Scanning from a PC using Windows XP
- Tap the windows button on your key board (or click the Windows Icon on the bottom left hand corner of your screen)
- Click on “My Computer”
- Select your printer (under Scanners & Cameras)
- Select “Get picture using Scanner Wizard”
- Click “Next” on the Welcome Screen
- Select your preferred save options (here you can choose the name of the file and where to send it on your computer)
- Click “Next” and the Wizard will scan with your selected settings.
- Select “Nothing. I’m finished working with these pictures.”
- Click “Next” (Your scanned images will now be saved in the location you specified in Step 6.
Scanning from a PC using Windows 7
- Tap the Start Button on your keyboard (or click the start button located on the bottom left hand cornerof your screen)
- Select “All Programs”
- Select “Windows Fax & Scan”
- Click the Scan button in the navigation pane
- Click “the New Scan button on the toolbar
- Select your setting in the dialog box
a. (optional) Click the Preview button (to view what it will look like)
b. (optional) make necessary changes - Click Scan button
- Click Save As button (to select file name and location of save)
Scanning from a PC using Windows 8
- Tap the Start Button on your keyboard (or click the start button located on the bottom left hand corner of your screen
- Type Scan
- Click Windows Fax and Scan
- Click New Scan
- Set document type (photo or document)
- Click Preview (you can crop the image here)
a. You can go back to Step 5 and make changes to settings (ex resolution) if necessary - Click Scan
- Right click the image and click save as (to change the name and select the location you want it saved)
Scanning from a PC using Windows 10
- In the Start Menu, open Scan App (click All Apps if it doesn’t appear)
a. (optional) Click Show More to change setting (colour mode, resolution, file location)
b. (optional) Click Preview button to view and or crop image (go to Show More to make changes) - Click Scan button (will automactically save to Scan folder in Pictures if not instructed otherwise)
- Click View button